How Can You Safely Tighten Lug Nuts??
We’ve all heard the horror stories of a wheel coming off while driving, causing a serious accident. The reason for such accidents is often improperly tightened lug nuts. It is crucial to ensure that your lug nuts are tightened to the correct specification every time you change a tire or remove a wheel. So, what is the proper way to tighten lug nuts? How can you safely tighten lug nuts without risking the off-wheel coming off?
Well, tightening the lug nut safely requires you to follow a step-by-step guide. But don’t worry; with just a few simple steps and some techniques and patience, you can tighten the lug nuts safely.
So, let’s explore the steps to safely tighten lug nuts on your car or truck to help prevent issues like loose wheels, warped brake rotors, flat tires, uneven tire wear, or potential accidents on the road.
Step-by-Step Process To Tighten Lug Nuts
Tools Needed for Tightening Lug Nuts
Several tools are necessary to ensure the safe and proper tightening of lug nuts.
- A torque wrench for precise and accurate tightening
- A lug wrench or lug nut wrench to remove and install the lug nuts.
- A jack to lift the vehicle off the ground allows wheel removal and access to the lug nuts.
- Jack stands for stability, ensures the vehicle remains secure, and prevents accidents while the lug nuts are tightened.
- A torque lug wrench to make sure that the lug nuts are tightened to the correct torque.
Step 1: Choose a Safe Location
- Start by parking your vehicle on a flat, level surface, away from traffic, to avoid any unexpected accidents or disturbances. This is essential for your safety and the effectiveness of the lug nut tightening process.
- To prevent the vehicle from rolling while you work, engage the parking brake in a proper way. The parking brake (also known as the handbrake or emergency brake) locks the rear wheels, adding an extra layer of safety.
- For added protection, you can use wheel chocks. Wheel chocks are wedge-shaped blocks that you place behind the tires opposite to the one you’re working on. They serve as a physical barrier to prevent the vehicle from moving.
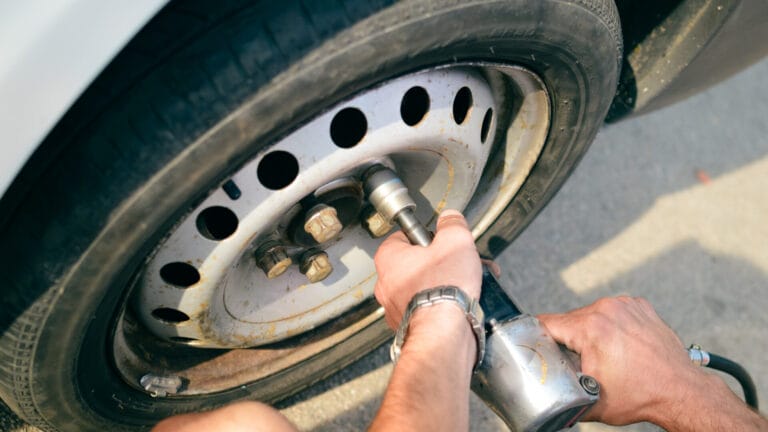
Step 2: Loosen Lug Nuts
- Grab your lug wrench or breaker bar equipped with the right-sized socket to begin loosening the lug nuts. Using the wrong-sized socket can damage the lug nuts.
- Rather than fully removing the lug nuts, your goal is to loosen them by about half a turn each. By loosening the wheel incrementally, you break the initial torque spec, making it easier to remove it later.
- Now, remove the lug nuts slightly (about half a turn) one by one by following a star pattern (opposite sides). For example, envision a five-pointed star if you have five lug nuts.
Step 3: Lift the Car
- Locate the jacking points using your car’s manual as a guide. These are usually situated under the vehicle’s frame or along the pinch welds.
- Carefully position the jack under the designated jacking point and use the jack stand for additional safety and support. Ensure that the jack’s lifting pad or saddle is correctly aligned with the jacking point on the vehicle.
- With the jack and jack stand in place, you’re now ready to lift the wheel off the ground. Carefully operate the jack’s handle, turning it clockwise to lift the vehicle. As you do this, the car will rise, and the wheel will come off the ground.
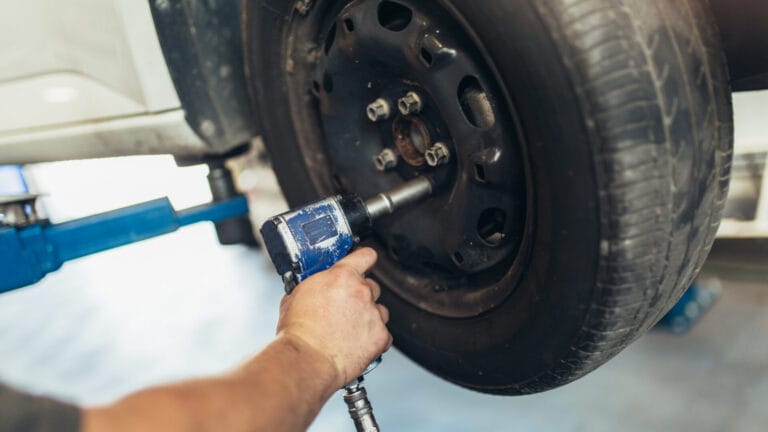
Step 4: Remove the Wheel
- Now that the car is lifted, remove the lug nuts from the wheel completely using your lug wrench, socket, and breaker bar. Turn them counterclockwise (lefty-loosey) to unthread them. Carefully set aside the lug nuts in a safe place once the lug nuts are fully removed.
- With the lug nuts removed, the wheel is no longer secured to the hub. To remove it, gently grasp the wheel by its sides, being mindful of its weight and size. If you encounter resistance, avoid jerking the wheel; apply steady and even pressure to remove it.
- As an added safety measure, it’s excellent practice to slide the removed wheel under the car, positioned near the jack and jack stand. This acts as a backup in case the jack fails or any unforeseen circumstances occur.
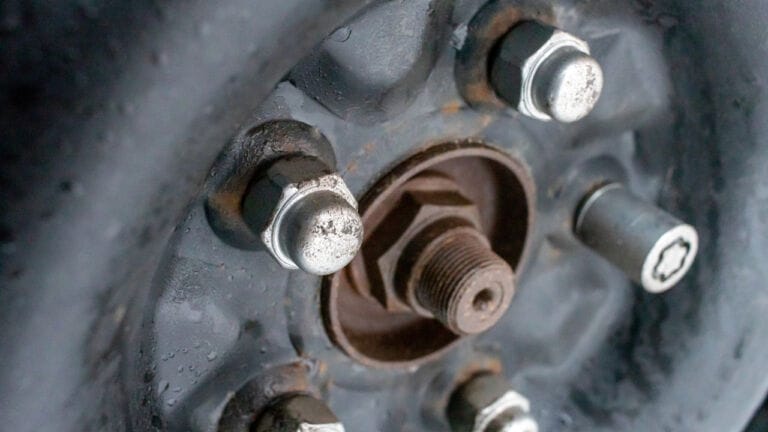
Step 5: Inspect and clean the Lug Nut Area
- While the wheel is off, take the opportunity to inspect the brake components, such as the brake pads and rotor, and ensure there are no issues. Look for any visible problems, such as excessive wear, damage, or uneven brake pad wear.
- Once you’ve completed the brake inspection, focus on the lug nut areas on the wheel hub and the wheel itself. Clean this area with a wire brush or cloth and remove all unwanted materials, dirt, rust, or debris that might have built up on the lug nut areas.
Step 6: Install Wheel
- Carefully lift the wheel and align it with the wheel studs. Gently slide the wheel onto the wheel studs, so each stud fits into the corresponding hole on the wheel. As you slide the wheel onto the studs, be attentive to the fit.
- You should feel a snug connection as the wheel seats itself. It’s essential to make sure the wheel is flush against the hub. In other words, the back surface of the wheel should be in direct contact with the hub, with no gaps or uneven spaces in between.
- This flush fit ensures the wheel is seated correctly, preventing issues like wheel wobbling or imbalances during driving. It’s an essential step for your safety and the overall performance of your vehicle.
Step 7: Tighten the Lug Nuts in a Star Pattern
- You should use a torque wrench to ensure the lug nuts are evenly and properly tightened. Begin by selecting the appropriate socket size for your torque wrench that matches the wheel lug nut size.
- Now, imagine a star pattern. If you have five lug nuts, visualize a five-pointed star. For six lug nuts, imagine a six-pointed star, and so on. Start at one of the “points” of the star.
- Use the torque wrench to tighten the wheel nut in a clockwise (righty-tighty) direction. Apply steady pressure on the wheel bolt, and the torque wrench will click or indicate when the proper torque value is reached.
You can watch the video for better understanding.
Step 8: Ensuring Proper Torque Settings:
- Use the manufacturer’s recommended lug nut torque setting to ensure the lug nuts are tightened to the correct specifications, preventing under-tightening or over-tightening.
- Too little torque and the lug nuts may not hold the wheel securely, risking it coming loose. Too much torque can cause overcompression, damaging the threads or studs, making it challenging to remove the lug nuts in the future.
- Using the correct torque setting is critical to wheel safety and performance. So, following the correct torque setting is like finding the perfect balance.
Step 9: Lowering the Vehicle
- After you’ve successfully torqued all the lug nuts to the manufacturer’s recommended specifications, you’re almost done. Carefully lower your car using the jack. Make sure to do this slowly and steadily to prevent any sudden drops. This step returns the car’s weight to the wheels.
- If you’ve used jack stands for added safety, this is the time to remove them. Typically, you’ll use the jack to lift the car slightly, allowing you to remove the jack stands one at a time. Ensure they are properly secured in their storage location within your vehicle.
Final Step 10: Retorquing Lug Nuts
- Finally, you have to retorque the lug nuts.
- Use your torque wrench and the star pattern you employed during the initial tightening. This step is an extra layer of safety to ensure your alloy wheel remains securely attached during your travels.
- Some car enthusiasts do it after a 50-100 mile ride because, during the ride, weight and vibrations can sometimes cause the lug nuts to settle or shift, causing a flat tire.
Common Mistakes While Tightening Lug Nuts
Tightening lug nuts may seem simple, but common mistakes can lead to safety issues and damage. Here are some common mistakes to avoid-
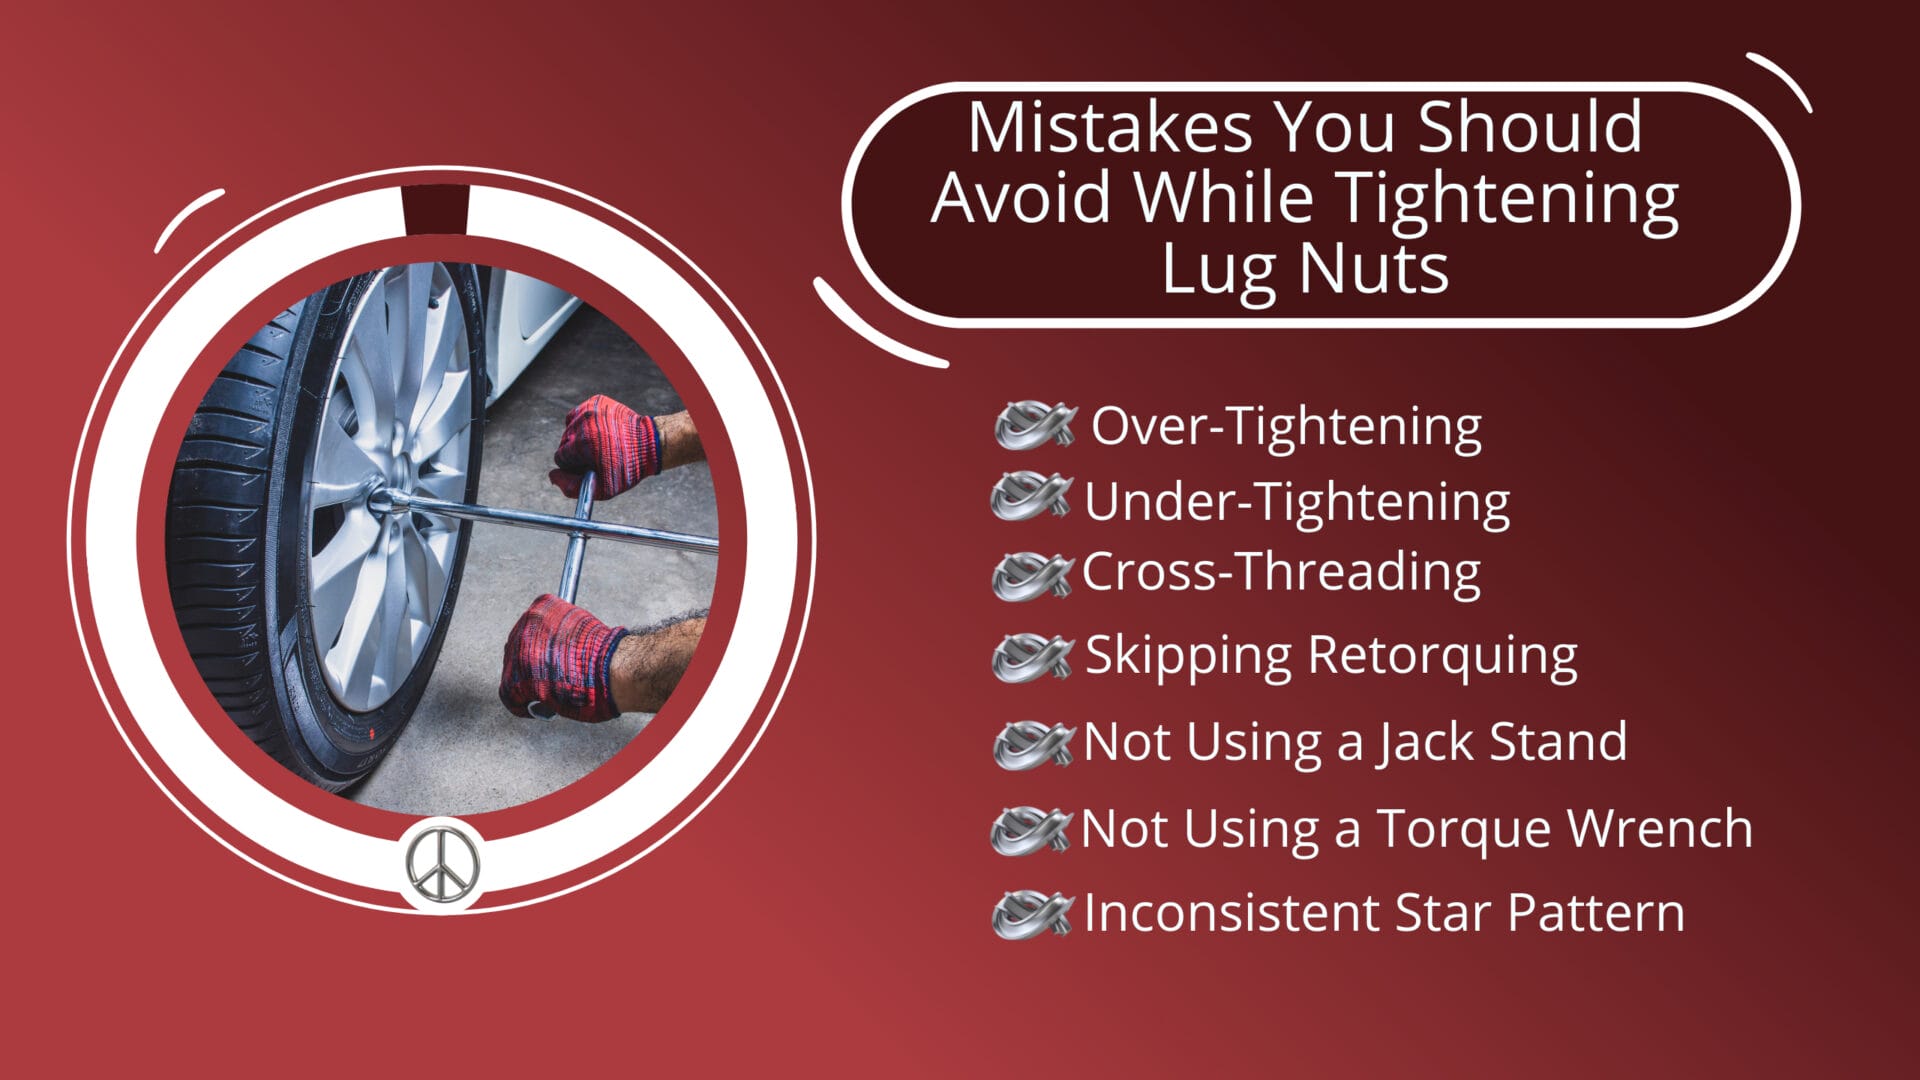
Over-Tightening Lug Nuts:
Applying excessive force when tightening lug nuts can lead to over-compression, damaging the threads or studs. This can make future removals difficult and weaken the connection.
Under-Tightening Lug Nuts:
Failing to tighten lug nuts to the manufacturer’s recommended torque setting can lead to loose wheels, posing a significant safety risk.
Cross-Threaded Lug Nuts:
If you don’t thread the lug nuts straight, you can cross-thread them, damaging both the lug nuts and the wheel studs. Cross-threaded lug nuts may not secure the wheel properly, increasing the risk of accidents.
Incorrect Lug Nut Size:
Using the wrong-sized socket or lug wrench can strip the lug nut, making removing or tightening challenging. Always use the right tools for your lug nuts.
Inadequate Cleaning:
Refrain from cleaning the wheel stud areas on the wheel hub and wheel before reattaching the wheel can prevent a proper fit, leading to wheel torque imbalances and vibrations.
Skipping Retorquing:
Some people forget to retorque the lug stud after driving a certain distance. This step is crucial to ensure no loose lug nut and the wheel lock is properly secured.
Not Using a Torque Wrench:
Relying solely on a calibrated torque wrench or breaker bar with a torque wrench can make achieving the manufacturer’s recommended correct torque (110 N⋅m and 120 N⋅m) specification easier.
Inconsistent Star Pattern:
Failing to tighten lug nuts in a star pattern can result in uneven force distribution, potentially causing the aluminum wheel to sit unevenly on the hub.
Not Using a Jack Stand:
Relying solely on the jack without a jack stand for additional support is unsafe. Jack stand provides stability and safety in case the jack fails.
Neglecting Brake Component Inspection:
While the wheel is off, not taking the opportunity to inspect brake components can lead to missed issues that could affect your vehicle’s safety and performance.
Safety Measures To Consider While Tightening Lug Nuts
When lug nuts are properly torqued, they keep your wheels securely in place, preventing any wobbling or wiggling. This stability is paramount for maintaining control and handling while driving, especially at high speeds or navigating challenging road conditions. So, to ensure safety while tightening lug nuts, several necessary measures must be considered.
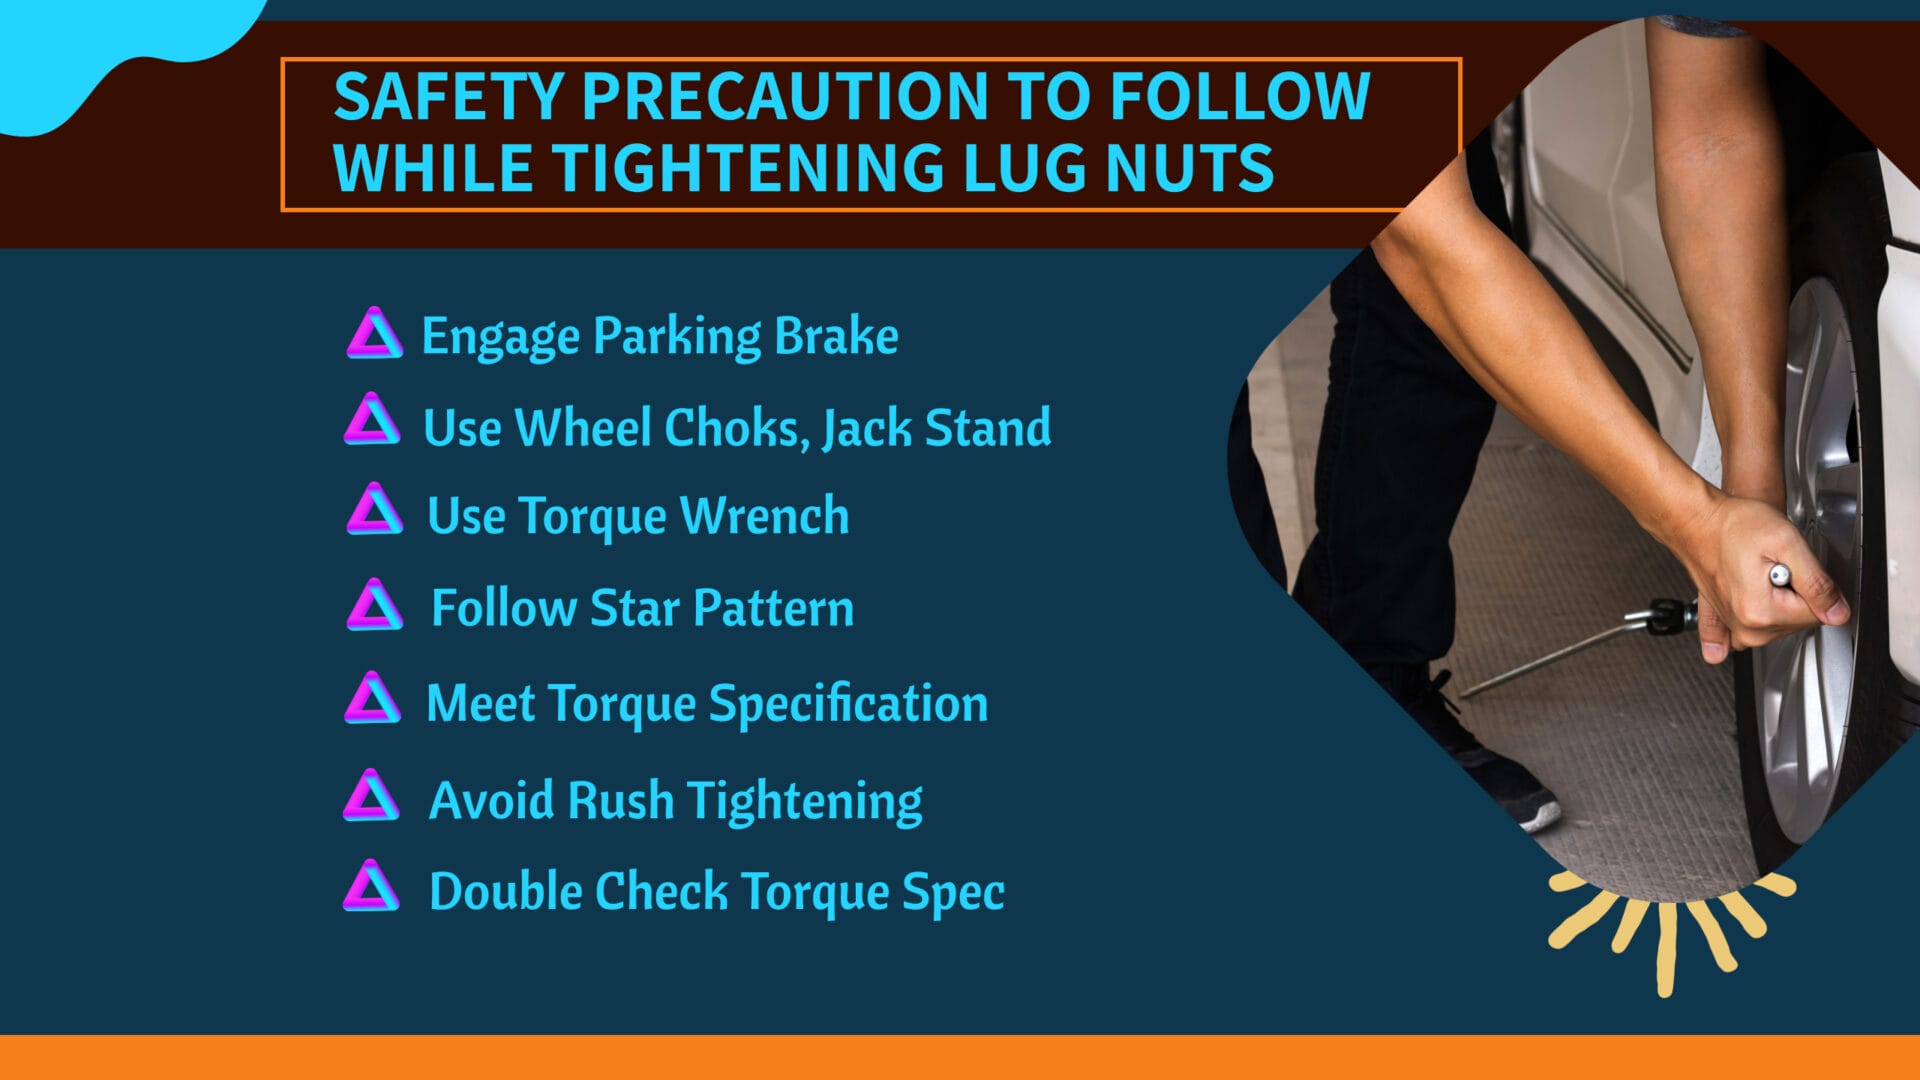
- Always engage the parking brake before beginning the tightening process. To prevent the unexpected movement of the vehicle.
- Follow the star pattern when tightening lug nuts to ensure even torque distribution across all the lug nuts, reducing the risk of loosening or damage to the wheel.
- Use a torque wrench to tighten the lug nuts to avoid over-tightening or under-tightening, which can lead to problems down the road.
- Double-check your desired torque specification. This can be done with an air impact wrench or by consulting a professional.
- Use wheel chocks and jack stands for added safety when lifting the vehicle. This provides stability and redundancy to prevent accidents if the jack fails.
- Avoid rushing through the process. Take your time to ensure the lug nuts are correctly tightened and other tasks are performed safely.
By implementing these safety measures, you can minimize the risk of accidents or damage while tightening lug nuts on the ground.
FAQ
What Is The Proper Way To Tighten Lug Nuts?
The proper way to tighten lug nuts is to jack up the car and use essential tools such as torque wrench. Then tighten the lug nuts in a star or crisscross pattern matching the manufacturer’s recommended torque setting to avoid over or under-tightening. Remember, it’s all about safety and uneven pressure distribution, so don’t forget to recheck the torque for peace of mind.
Is It Safe To Hand Tighten Lug Nuts?
It’s not truly safe to hand-tighten lug nuts. Hand tightening in the first step is okay, but final tightening must be done with the proper tool to ensure lug nuts are properly secured. Because hand tightening can’t tighten the lug nuts at accurate setting due to uneven torque distribution.
Can You Tighten Lug Nuts Without A Jack?
Yes, you can tighten lug nuts without a jack, but there is a chance of over- or under-tightening due to uneven torque distribution. When there is no jack, you will have a lower height under the vehicle, making it hard to access the wheel to tighten the lug nuts to the correct specification. So, it’s better to use a jack for easy access.
Can You Tighten A Nut Without A Wrench?
Yes, you can tighten the nut without a wrench using safe alternatives such as duck tape, pliers, two coins, your fingers, a zip tie, or other makeshift tools. But for a secure and precise grip, a wrench is always your best friend.
What Happens If Lug Nuts Are Loose?
If lug nuts are loose, it can lead to dangerous consequences like wheel wobbling, loss of control, and even accidents. Always ensure your lug nuts are properly tightened for a safe and smooth ride.
Do You Tighten Lug Nuts Clockwise?
Yes, I do tighten lug nuts clockwise. And I recommend you turn them clockwise (righty-tighty) to secure the wheel, too. This way, you can avoid over-tightening, under-tightening, and cross-threading.
Do I Need To Tighten Lug Nuts After New Tires?
Yes, tightening lug nuts after getting new tires is essential to ensure they are secure and won’t come loose. Ensure they’re properly torqued to ensure safety and prevent any issues like a loose wheel down the road. Stay safe, and enjoy your new tires!
What Are the Safety Precautions for Tightening Lug Nuts On The Ground?
When tightening lug nuts safely on the ground, it’s essential to follow certain precautions. Firstly, ensure the vehicle is parked on a level surface. Then, use a torque wrench to tighten the lug nuts in a star pattern gradually. Apply the recommended torque specified in the vehicle’s manual. Finally, recheck the lug nuts after a short distance to ensure they’re properly tightened to avoid any accidents.
Closing Words
To ensure the safety of both you and your passengers, as well as the longevity of your vehicle, it’s essential to follow the key steps for tightening the lug nuts I just shared above.
If you tighten your lug nuts by adhering to these guidelines, you’ll ensure the safety and reliability of your vehicle. It will also reduce the risk of accidents and mechanical issues associated with improperly secured wheels.
Regularly inspecting and maintaining your lug nuts is a small yet crucial aspect of responsible car ownership.