LED Headlights Only Work on High Beam: Causes and Solutions
You were so excited to upgrade to those bright, high-tech-looking LED headlights. But the honeymoon glow wore off fast once you realized an annoying issue. The low beams stay dim or simply do not turn on, making driving at night a task.
So, why do your LED headlights only work on high beams? Well, it’s because of improper headlight installation and faulty wiring. It could also result from defective bulbs, faulty switches, relays, fuses, and inadequate power supply.
If you are struggling with LEDs that only work on high beams, read on to learn the causes and how to troubleshoot the issue. By the end of this write-up, your lights should be running optimally in any setting.
Why Your LED Headlights Only Work on High-Beam
Below is an in-depth look at the culprits behind this phenomenon:
1. Wiring Issues
Wiring issues manifest due to various reasons. They include corrosion and rust, damaged insulations, and pinched or chafed wires. These wiring issues might affect the low beam and make it stop functioning. Hence, only the high beams will be available.
Other signs of wiring issues include:
- Flickering lights
- One side of the beam is brighter than the other
- Delayed response when switching from low to high beam
- Inconsistent headlight working patterns
- Burnt smell from a short circuit
2. Faulty Switches
The headlight switch controls the power to the high and low beam filaments, telling the lights when to activate each. If it is damaged, then it might not deliver power to the low setting while still working normally for the high beam.
Additional signs of a faulty headlight switch include:
- Switch stuck in the high beam position
- Damaged switch contacts inside the component
- Switch feels loose when toggling between the settings
3. Incorrect Installation
Improper installation results from the professional doing it making mistakes. Here are common errors that the mechanic might make:
- Reversed wiring where the high beam and low beam are swapped and vice versa.
- Misaligned bulbs within the headlight assembly
- Incompatible LED bulbs
- Loose connections
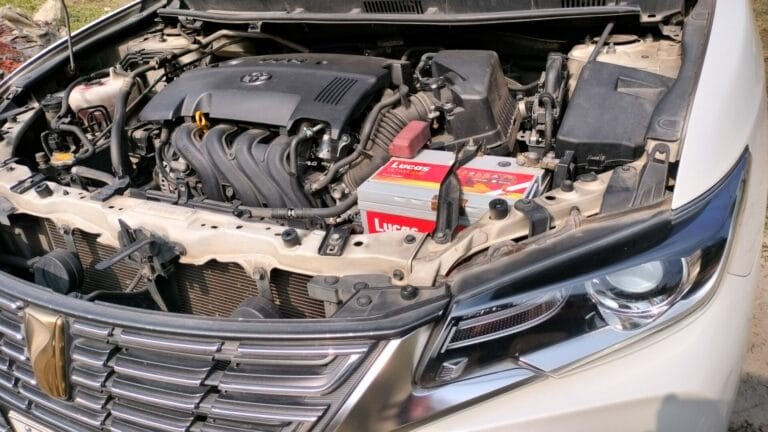
4. Inadequate Power Supply
If your car alternator and battery have low voltage, the low beam will be very dim. At night it will be as if it doesn’t work. Only sufficient light will be produced when you switch to a high beam.
Signs of this menace include:
- Lights only reach meaningful brightness on high-beam
- LEDs get brighter when the engine revs high
- Low battery warning
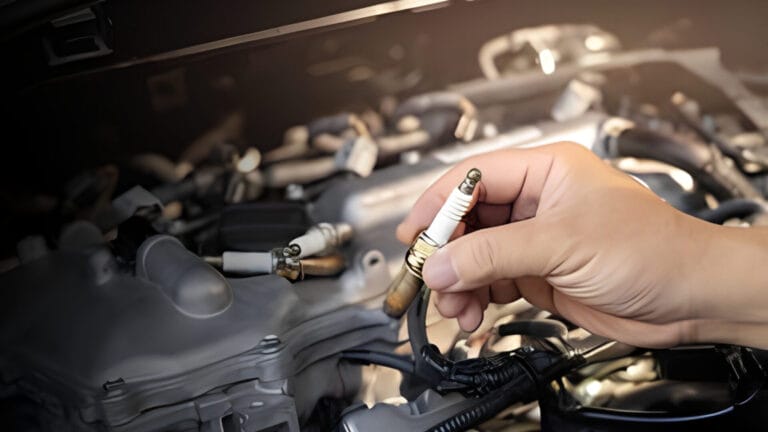
5. Defective LED Bulbs
Sometimes, the LED bulbs may be flawed and fail to illuminate on the low setting. These bulbs might seem fine, but they have underlying issues like:
- Uneven illumination, resulting in dark spots and irregular brightness
- Intermittent operation that works once in a while on the low beam
- Dim output even on the highest setting
The defects are a result of manufacturer defects or poor handling during transportation.
6. Faulty Relay
The headlight relay delivers power from the vehicle’s electrical system to the headlight bulbs based on switch inputs. A damaged relay will not transmit electricity to the low beam side.
Signs of a bad relay are:
- Flickering headlights that reset after turning them off and on
- Delay in beam change from low to high
- Clicking sounds as the relay struggles to engage and disengage
7. Blown Fuses
Blown fuses interrupt the flow of electricity. Most cars have separate fuses for low and high beams. So, once the low beam fuses are blown, that setting will no longer work. But since the high beam fuses are okay, that setting will work normally.
Signs of a blown low-beam fuse include:
- The fuse appears blackened or melted
How to Fix LED Headlights That Only Work on High-Beam
Follow this procedure to have your low beam working:
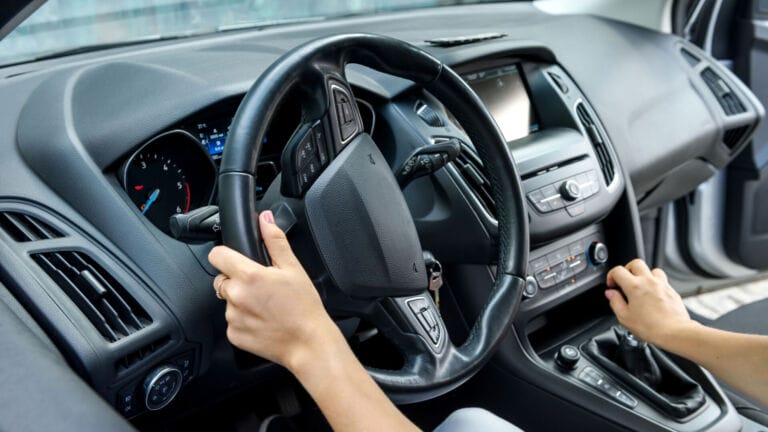
Step 1: Check the Headlight Switch
The headlight switch is located just below your steering column. You need to:
- Inspect it for any visible damage. Watch for signs of wear and tear.
- Operate the switch. Pay attention to how it feels when switching. If it feels loose, it needs a replacement.
- Disassemble the switch and check the wiring. Ensure all the connections are tight and in place.
- If not, soldier them accordingly.
- If the switch is beyond repair, replace the whole component with another from a local auto shop.
Step 2: Check and Replace the Burnt Fuse and Relay
You will need a flashlight, replacement fuse, relay, and vehicle manual. Follow these steps:
- Locate the fuse box as detailed in your car’s manual. It is usually under the hood or inside your vehicle, near the dashboard. If you do not have a manual or it is vague, here is a video illustrating the location of this box:
- Identify the low beam fuse. This differs from car to car. Hence, you must consult your manual. Some vehicles also do not have a separate fuse for low and another for high beam. Skip this step for such vehicles.
- Inspect the fuse to check for signs of being burnt, blackened, or damaged.
- Use a multimeter to measure for continuity and resistance. There should be continuity, and resistance should be close to zero ohms.
- If it fails the test, replace it with the fuse of the same amperage. Remove it from its position using a flat-headed screw and insert the new fuse in the same spot.
Locate the fuses with the help of the following video.
As for the relay:
- Identify its location from your vehicle manual.
- Inspect it for signs of wear, loose connections, and corrosion
- Have the multimeter on the ohms settings and test two pins at a time (Pin 87 and 30). There should be zero resistance. There should also be no circuit continuity.
- If the relay fails the test, replace it with the same model. The replacement relay should be installed in the same position the old one was.
Step 3: Disassemble and Install Correctly
Use these steps:
- Access the headlight bulbs. You need to open the hood and access them from the rear of the headlight assembly.
- Disassemble the bulbs and clean them with a piece of cloth.
- Reinstall them. This time, ensure that all connections are correctly in place. Ensure that the bulb fits in tightly.
- Test both low and high-beam LEDs. If working, reassemble them as they were before this step. If not, do not reassemble them. Move to the next step.
Step 4: Inspect and Replace the Bulbs
Follow this procedure:
- Inspect the low beam for any visible defects like dark spots and irregular brightness.
- Replace the faulty bulbs and ensure you test the replacements before using them.
- Test the low and high beams. If working well, reassemble. If not, do not reassemble, move to the next step.
Step 5: Examine and Repair Your Wiring
You will need to follow these steps here:
- Inspect the wiring connections from your headlights to the alternator and even the vehicle battery. Check for corrosion, loose connectors, and chafed wires that lead to headlights.
- Replace all the wires that are chaffed. Tighten any loose connections.
- Use a multimeter to test for continuity from the alternator to the headlight. However, you need to measure part by part up to the alternator. This way, you can identify the areas with poor or interrupted connectivity.
- Replace the wires in these areas and test the headlights. Reassemble them as they were before you started this procedure.
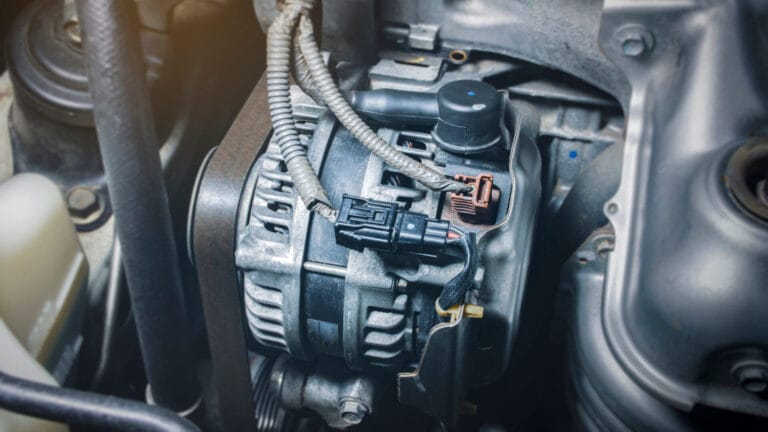
Step 6: Check your Alternator and Battery
If all the above steps have not fixed your issue, then it means you have low power. Use this procedure to check and fix:
- Use a multimeter to check the battery voltage. It should read 12.6 volts when your vehicle is off.
- Start the engine and recheck the voltage. It should have increased to between 13.8 to 14.5 volts. If not, the alternator is damaged.
- Have it inspected, upgraded, or repaired by a professional.
FAQs
Here are answers to questions that will come in the process:
Can replacing LED bulbs with halogen bulbs fix the issue?
Yes and no. If the LED bulbs for the low beam are damaged, replacing them will fix the issue. If they were not damaged or the error is from other underlying issues like a faulty switch, then no.
Can I Drive My Car With LED Lights that Work on High Beam Only?
Yes and no. Lights are not directly linked to the engine, brakes, or other critical components of your vehicle. Hence, you will just drive fine to your destination without any risks. Plus, in the daytime, you do not need lights.
However, there are repercussions of driving in such a state at night. For instance, in Florida, it is illegal to use a high beam continuously. You are required by law to switch to a low beam.
What if the LED headlights’ low beam is as bright as the high beam?
That means you have a wiring problem. Your high beam bulbs are receiving power during the low beam operation when they shouldn’t. Check the wiring to fix the issue.
Conclusion
The above information has put to bed the question, why do my LED headlights only work on high beams? Several reasons contribute to this fault. The major ones include wiring problems, switch malfunction, and blown-out low-beam fuse or relay.
This is a minor issue which you can address by yourself. However, if you are not confident of your skills take the vehicle to a professional. This is a sensitive repair. If you mess up and have short circuits, your headlights will burn out, leading to costly replacements.